|
|
Post by martingb on Mar 26, 2006 6:14:22 GMT -5
I am about to begin a project using a Dragon body in the 12 Inch scale. I need to paint the hands to look like they are gloved. Anybody have any clear and 'simple', for me, ways to achieve a decent end result. Andy very kindly talked me through a procedure to ensure rubber or rubberized plastics can be painted whilst avoiding that horrible 'sticky' finish. As these hands are kinda soft I was worried this would be something which posed the same problem. I can easy leave the hands on the body to paint if I have to but I was also wondering if they can be removed easy too. I see a kinda 'pin' which can probably be pushed through to allow the hand itself to come off but I was hoping to take the whole hand/wrist piece out too. Any of you 12 Inch fellas have any thoughts or tips? Thanks for looking.
|
|
|
|
Post by Figuremaster Les on Mar 26, 2006 9:56:21 GMT -5
Got tons of Dragon hand experience here Mart. Do not paint them. All Dragon hands come right out wrist and all intact and can be switched out with any other kind of hand they make. If what you have are regular "bendy" hands, then save them as those are hard to come by. If you want gloved "bendy" hands, they are often readily all over Ebay as Dragon bendy gloved hands, leather type and otherwise. Look for those. If you cannot find any, let me know. I have found no way to paint bendys where the paint stays on any length of time so I wouldn't try that. Just a suggestion.  |
|
|
|
Post by Wild Willy on Mar 26, 2006 11:36:38 GMT -5
One of my original gloved designs was to get some latex rubber (which is liquid) Half fill a dixi cup with it then mix in latex paint a little at a time until the desired shade. Then you simply dip the hand into the colored latex right up to the forearms, stand them in a straight up position so the latex runs down the arms and no blobs will form on the finger tips. Repete this process 2 - 4 times allowing a half hour cure between dips. When final dip is cured, using an X-acto, carefully cut the gloves at the desired leangth and shape. If you do the dipping provess for 6-10 times and allow it to be fully cured, you may actually remove the tight & form fitting gloves and slip em back on if desired. If it's Batman gloves your doing, Cut the glove fins from paper or thin cardboard and glue them to the forearms before the dipping process. If you wish to have them as removeable, before dipping begins, Take some Sculpy and fill in the wrist joints so it is smooth from the hand to the forearm. This prevents the latex from getting into the join making it impossible to remove. To remove the formed glove, Begin peeling it down the arm and once you start, Pour baby powder on it and make sure Baby powder gets on every tiny area of the "Inside" of the gloves, otherwise the insides of the latex will still to itself permanantly. once the glove is peeled off it will be completely inside out. at this stage, Smother it with baby powder and rub it into it so every crevice, finger etc are powdered. Useing a blunt tool like a dull pensil, you can carefully poke the glove back right side in. You will now be able to pull and stretch the custom glove onto the hand, It has a very high tear resistance so dont worry about ripping it. Heres a pic of what can be done. In this example i had gone the extra ,ile and added Satin to all but the palms. 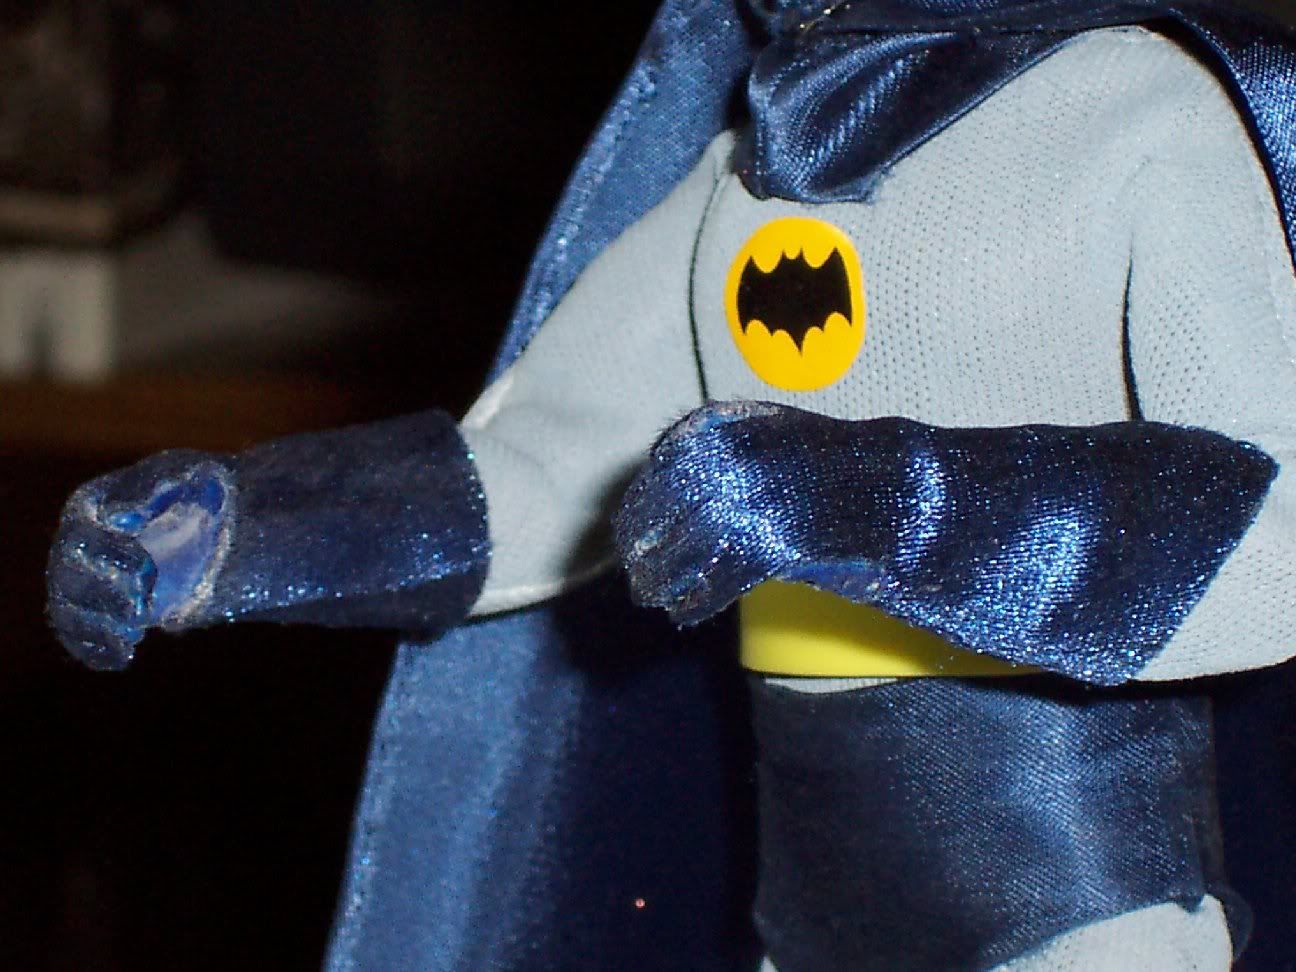 Hope this helps stir some ideas Marty. Will |
|
|
|
Post by martingb on Mar 26, 2006 13:03:13 GMT -5
Blimey!! Not good. Thanks for the efforts fellas. I never knew that I would potentially face either problems or complicated stuff as this figure is so new to me. However I really wanna take a shot so I will keep you up on my success or failure. Cheers guys!
|
|
|
|
Post by Figuremaster Les on Mar 26, 2006 19:58:01 GMT -5
Trust Will to have some interesting info on that!
I may try that technique out sometime Will.
Good luck with your efforts Mart.
Keep us posted with it so We won't worry about how you are doing! ;D
I for one will remain curious to see what you resolve.
|
|
|
|
Post by radioscooter on Mar 27, 2006 11:25:53 GMT -5
I'll add some of my techniques to the pot here. It sounded to me like you were maybe not as interested in having permanently removable gloves as much as wanting to keep them separate just while painting for ease and accuracy?
In my opinion nobody has ever made a removable glove for 12" figures that doesn't end up looking too much like a big huge puffy oven mitt.
A few people like Jonathan Moore have perfected the sewn individual fingered gloves, which looks pretty good but are not practically removable.
Then some people do the 'advanced mego' technique of painting the hands but fabricating the glove flaring out behind it out of a different material.
I don't really like any of these techniques much and have worked out my own methods for this plaguing problem. These are just my own feelings obviously, your results may vary.
I use the pegged hands because then if you want to have "removable gloves" you can pop them out and switch with bare hands on the same doll. Some people when using pegged gloves or boots just cut the forearm a bit shorter and then glue the costume down near the insert hole so the glove doesn't bunch the suit up underneath. I prefer to try for a natural 'suit complete under the glove' effect.
I can usually find a Dragon or similar gloved, pegged hand that is a good base to start with. Then I dremel down the details and maybe open up the interior a bit depending on what character and what type of gloves you need.
Then I take Sculpy FLEX and sculpt from the wrist back, smoothing the transition area all the while. I use the FLEX Sculpey for gloves, boots, cowls because as the name implies, it cures much less brittle and ceramic than the regular Sculpey.
Then "bake" it in boiling water (cause the oven would melt the base hand)
After cooled and cured, sand down to desired smoothness level. Check fit on doll.
Now comes the fun part. Depending on the character - you may want a really tight fit glove. For this, I put the hands on the unsuited doll (or a 2nd doll if you already clothed the target doll) and do something like what Will has described but with different goals and results.
First - I don't use Latex rubber, I use liquid vinyl. This is made by many different companies but I prefer "Plasti-Dip" It is a liquid vinyl used to coat tool handles etc. and comes in several bright colors. I blend them to get whatever color I need (I did my Gorshin 9" Riddler gloves this way by blending white red and blue for the lavender) Then you carefully dip one forearm in the stuff up just past the glove you sculpted while the hand is attached to the doll. This will allow the liquid vinyl to drape around the arm just right to look like a tight fit if you need that.
You have to go slow with this stuff and let the excess drip down from the fingers. Let it sit overnight. It will shrink up tighter. If you need to repeat the process, do so as many times as neccesary. I took a tip from the landscapers - don't build our whole mound out of mulch, build it out of dirt and just top it off with mulch! Same here. That's why I sculpt the gloved hand and prime it in color before dipping in the vinyl, so the detail level isn't rubbed out by too many layers of rubber.
Now certain colors/textures can't be achieved by this process and it suits some glove styles better than others. For example, I wouldn't use it on Robin or Captain America gloves, since they don't have to cling tight to the forearm. For flare-out gloves, I would just sculpt the flares from Sculpey FLEX and then seal and paint.
By the way there is now paint available that will coat almost any rubber/vinyl based plastic, including Dragon hands or Mego heads and techniques for making it work fine and never be sticky. It took me 15 years to work THAT process out!
|
|
|
|
Post by martingb on Mar 27, 2006 13:35:23 GMT -5
Thanks again fellas! All this does is make me feel really dumb and inexperienced! You all have such great and well tried techniques and I am only really a step or two away from just using the famous old Mego oven gloves. It all sounds very complicated and as much as I want to try stuff I do know my limitations. They all make for great reading though. Thanks again guys. Not sure what I'm gonna do now but I will keep you posted. What I will say is that these Dragon bodies which are very new to me are bloody brilliant. I can't stop playing and posing it. I hope it all works out.
|
|
|
|
Post by Figuremaster Les on Mar 27, 2006 16:34:23 GMT -5
Very cool info indeed Scot. I am indeed curious about the paint you have developed... Any chance in hell we may ever get a lead on that info? You could patent it you know... ;D |
|
|
|
Post by radioscooter on Mar 27, 2006 22:18:38 GMT -5
No, No. Les, I didn't INVENT anything.
I've just been trying several different combinations of newer paint products and different sealers and finally found the techniques that will work. If you tell me exactly what brand of hands you want to paint, or else which specific polymer they're made of if you know that - I can prescribe a paint recipe for it.
On most 1:6 hands that are flexible they are usually a soft vinyl. Pactra maes a flexible hobby paint for Lexan bodied RC cars called Racing Finish. There are others. These paints will work on soft vinyl as well. After it's dry, seal with Testor's Dullcote before applying a second coat. The dullcote will allow the paint to final cure not-sticky. I've used this on rubber Dragon boots as well. The bonus is that if you bend the item later the paint flexes with the rubber instead of cracking.
|
|